If you are looking to use Typekit fonts on your site using the WordPress theme you don’t have to install any 3rd party plugins and you can use custom code to actually “hook” your custom Typekit fonts right into the theme’s Visual Composer modules (such as the Total Heading module) as well as the Customizer’s Typography settings so you can easily choose your Typekit font for various parts of your site.
Creating Your Kit And Adding Your Code
First you should log into Typekit select the fonts you want to use in the “Kit Editor”. Once you are done you will receive a Javascript code to place on your site.

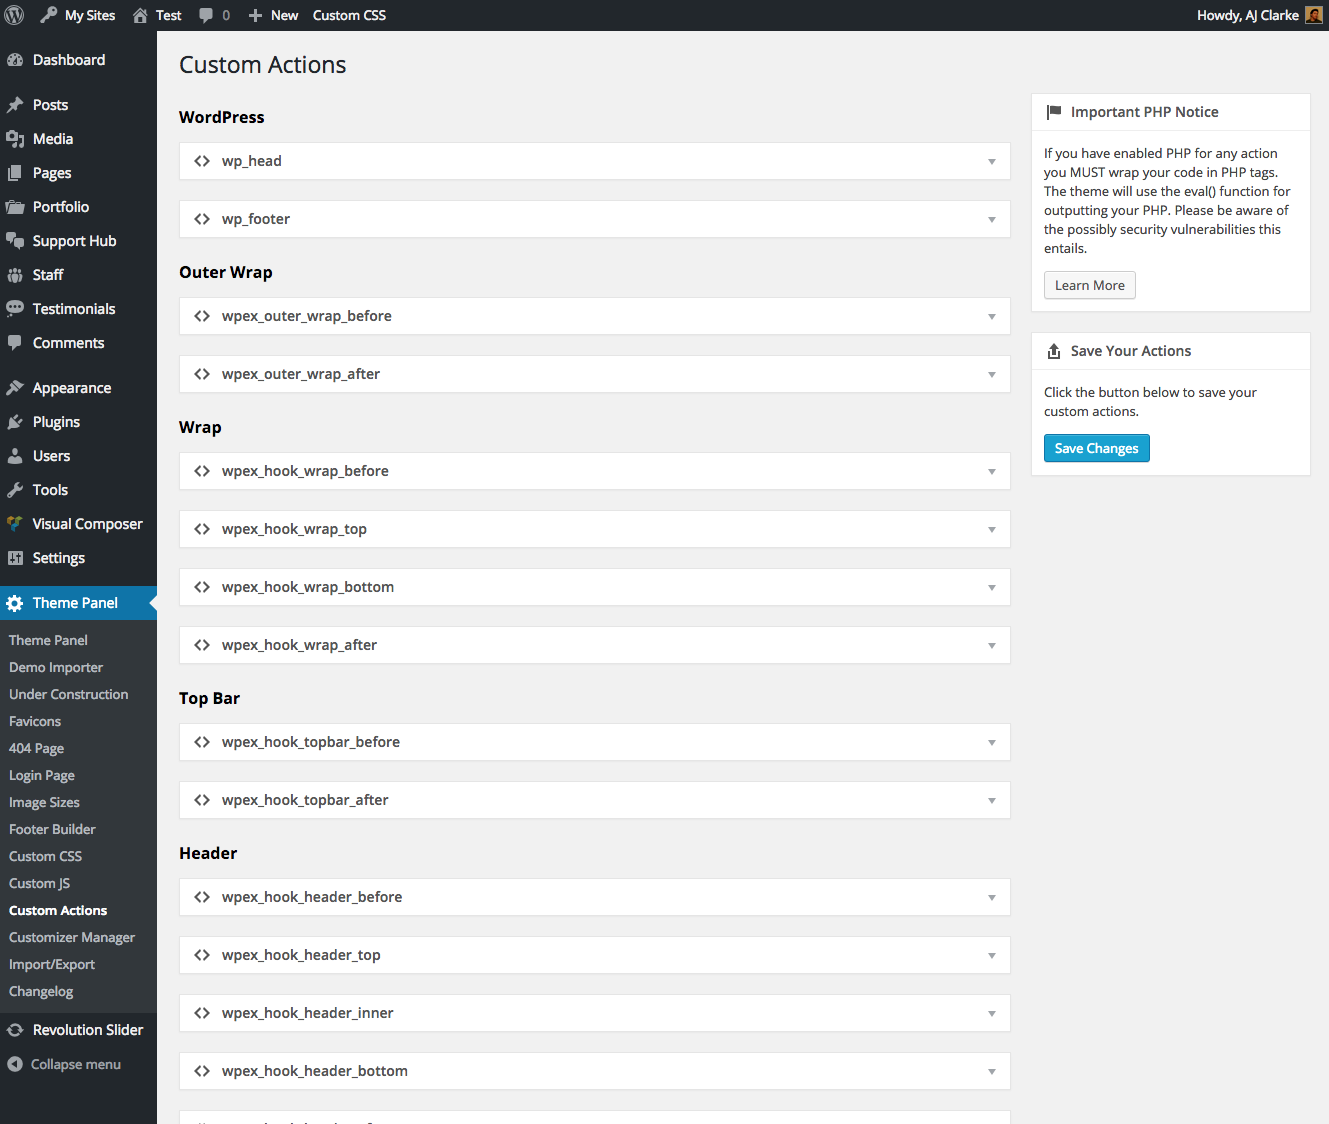
This code should be added in WordPress under Theme Panel > Custom Actions. If you need to insert your code inside the <head> tag then use the wp_header field and if you need to insert your code before the closing body tag then insert the code in the wp_footer field. The kit editor will indicate where you should be adding the embed code.
Using The New Fonts
When adding the code from Typekit it’s only going to load the fonts on your site, it isn’t going to actually make any of your site use the fonts. So you have a couple choices on using them.
Include Your Font In The Theme’s Typography Customizer Settings & Editor Font Family dropdown
The easiest way to make use of the fonts and probably the best is to include them in the Typography options in the Customizer which can be done easily via a little code in your child theme. Here are the snippets to help you see what your code should look like:
- Add custom fonts to the Typography settings panel
- Remove all Google Fonts from the typography settings panel
- Add custom fonts to the Post Editor Font Family dropdown
Apply Font Using CSS
Of course you can always just use custom CSS to apply your custom fonts and not bother with the Typography settings in the Customizer.